General settings
Set up Project's main instances such as Owner, Teams, Labels, Project stakeholders, Readme, Description or Kanban Templates.
General project settings looks as follows...
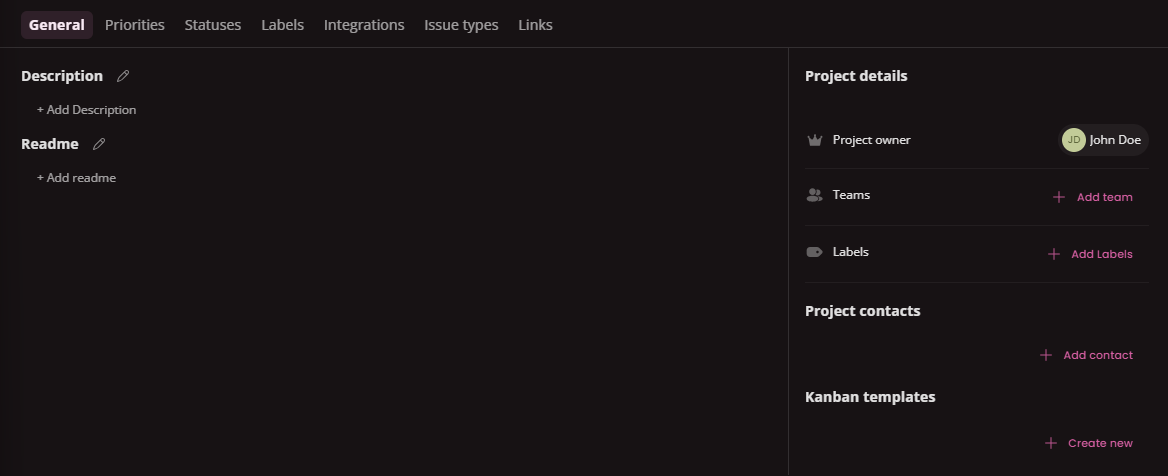 You can set several core instances:
Description
Description of the project is visible only in Project settings. You can shortly describe the character of the project there. For more detailed info please use Readme.
It serves as an internal project space. Users without permission won't see the content of this field.
Readme
Readme is a public space and its content is directly reflected in Project dashboard. You can use the included wysiwyg editor to fully customize the content that's relevant to the users on the project. You can create a table with expenses, scheduled releases or vacations. Basically anything.
Project owner
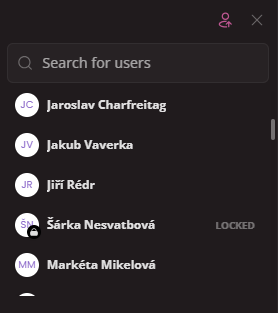
Project owner is a user responsible for the project. It is usually Project manager/Project Admin but you can select any user as owner.
To change the owner click on the current owner and select a new one in the picker.
Teams
Teams define who can access the project and what permissions particular users have on the project (Users in Teams have their Team roles that define set of permissions on the project).
To link a team to the project click the Add team button and select as many teams you have created in the picker.
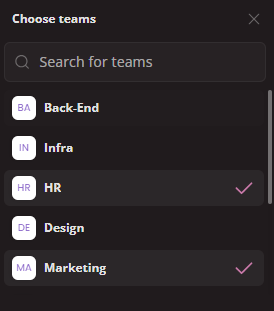
To unlink a team from the project click on X in respective team.

Labels
Labels help to categorize projects for easier filtering. They also provide a visual way to add context and organization to your projects.
To link a label to the project click the Add labels button and select as many project labels you want in the picker.

To unlink a label from the project click on X in respective label.

Project Stakeholders
Project stakeholders are individuals who have an interest in a project's outcome, or who are affected by the project's execution. In other words, they are anyone who has something to gain (or lose) from what happens with the project.
You can set different stakeholders for each project.
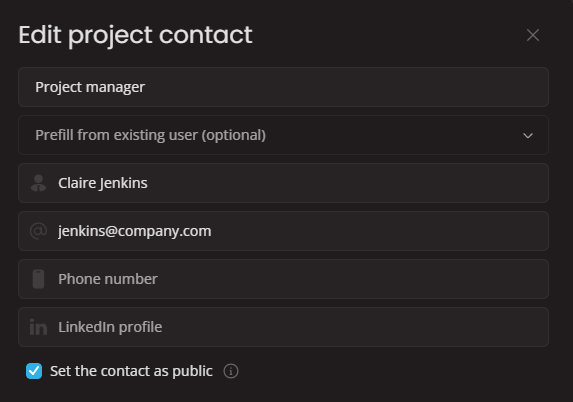
To create a stakeholder click the Add contact button. You'll see this window.
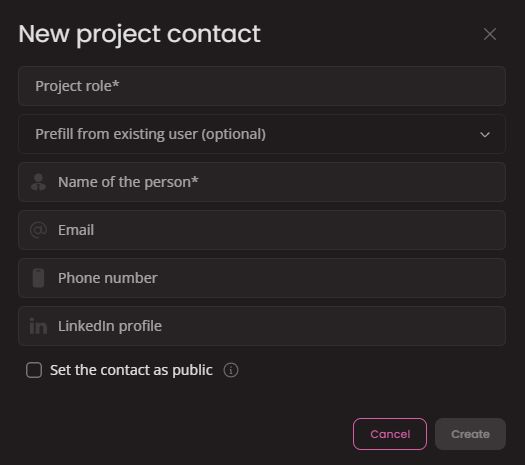
- Project role (required) - Defines the person's role on the project.
- Prefill from existing user - Select this if the person already exists as a user in your app (fields name, email, phone will be prefilled).
- Name (required) - Stakeholder's full name.
- Email - Add a valid email address.
- Phone no. - Add a valid phone number.
- LinkedIn - Additionally you can add URL address of the person's LinkedIn profile.
- Set as public - This option saves the contact to be visible on the project dashboard.
To edit a stakeholder click the Edit button at the end of line.

You'll see the same window as for create. Here edit credentials and submit changes.
To delete a stakeholder click the Delete button at the end of line. The person will be deleted instantly.

Kanban templates
To create a template click on the Create new button. You'll see this window.
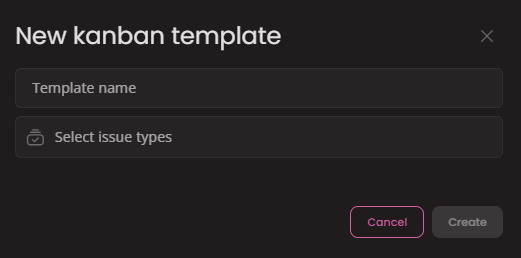
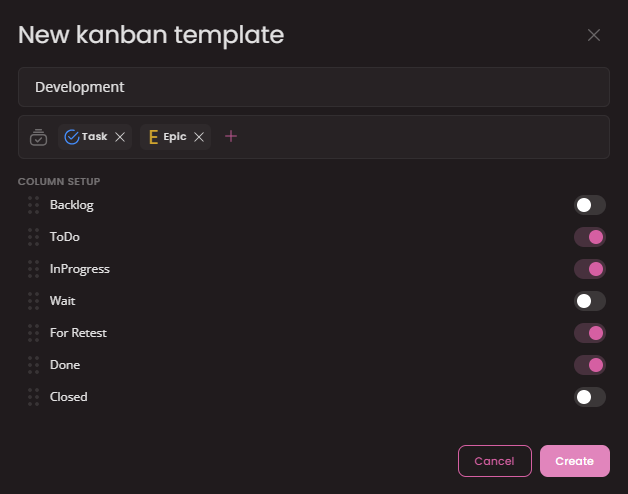
Type a name and select all issue types you wish to see on Kanban. In Column setup there is a list of all statuses from all selected issue types. Here you have an option to hide certain statuses by toggling the switch button. You can also drag and drop each status to reorganise the columns on the kanban.
When you save the template it will appear in the list of templates
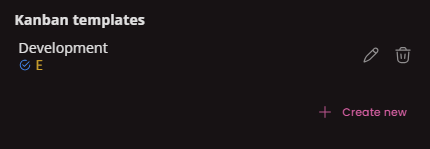
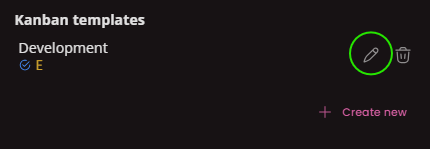
To edit a template click on the Edit button. Consequently you can edit and save the template.
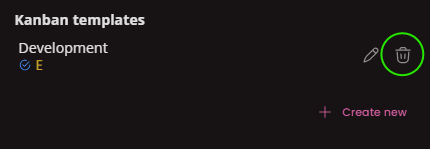
To delete a template click on the Delete button. Template will be deleted instantly.
Introduction
Project settings are the foundation of your project management workflow, allowing you to define statuses, priorities, issue types and other useful settings to streamline organization and collaboration.
Statuses
Proper Status assignment is crucial for the whole project management. Learn how to set statuses accross the whole project.