Labels
Labels act as keywords that can be associated with your issues or test cases.
Labels in general

Labels provide a visual way to add context and organization to your issues and test cases.
Their purpose is to help you:
- Categorizing: Add labels with relevant tags to your issues for easier organization and filtering. (e.g., "blocker," "bug fix," "design review")
- Filtering: Quickly find issues associated with specific labels. Imagine filtering a long to-do list to show only "urgent" tasks.
Create a label
Go to Project settings and select Labels tab.
Click on Create new button.
You'll see a window where you need to fill a label name and choose label color.
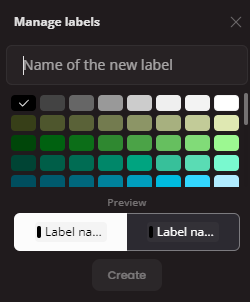
Hit Create button and your new label will appear in the list of labels.
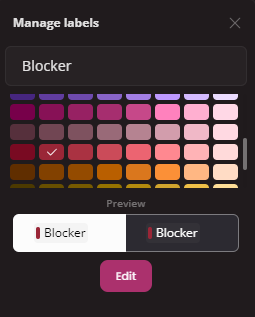
Edit a label
To edit a label click the Edit button at the end of line or simply click on the label you want to edit.
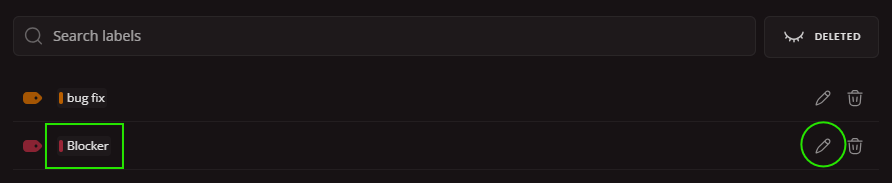
Edit window will open where you can edit name and color. Save the changes by clicking Edit button.
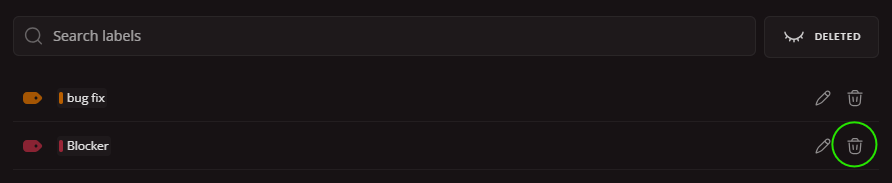
Delete a label
To delete a label click the Delete button at the end of the line.
Restore a label
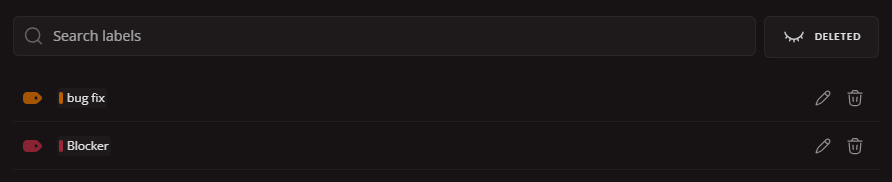
You can restore any label you have deleted previously. To restore a label click the Show deleted button to see deleted labels.
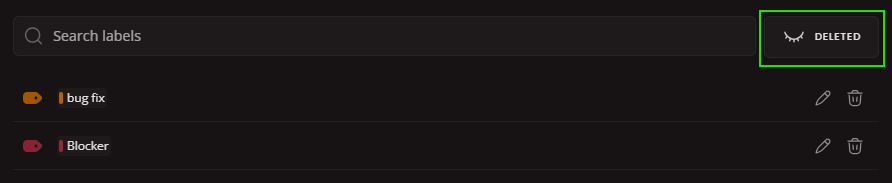
Select a label you want to restore and click the Restore button

Your label will be restored instantly.
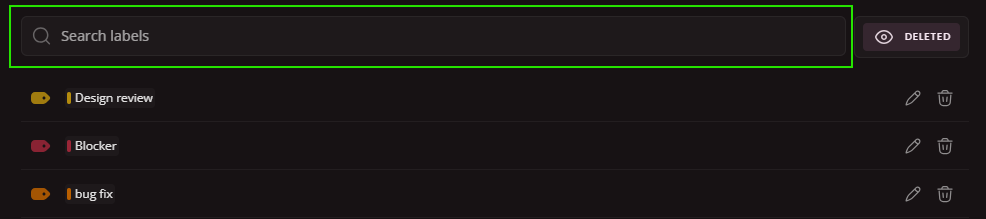
Search for a label
You are able to search labels using the Search input (use label name in search field).